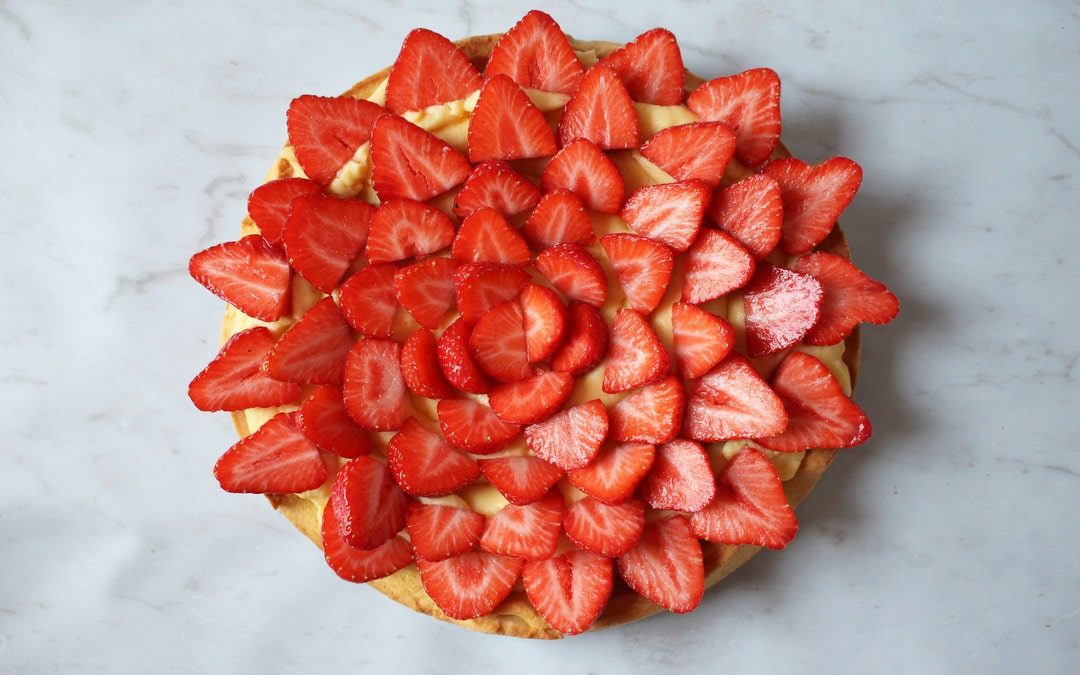
We’ve been sharing lots of tasty fish dishes lately so we thought it would nice to switch things up and share something sweet today. This summer fruit tart recipe from Denis can be made with whatever fruit is in season. You could also make it with tinned fruit if it’s winter, so your options are wide open for this. We found some delicious looking strawberries so we went those for our version today. Denis tells us that the tart should look like a flower opening up so that was our aim when we tested out the recipe, can you see it? We hope so!
There are a few steps involved when creating this tart so give yourself plenty of time to make it. A great tip from Denis is to make the pastry cream filling a day ahead, this will keep just fine in the fridge overnight and makes it quick and easy to put your tart together. This is definitely a dessert we’d make for a special occasion so if you have a celebration coming up give this a go, we think it will be very well received.
Summer Fruit Tart Base
Ingredients
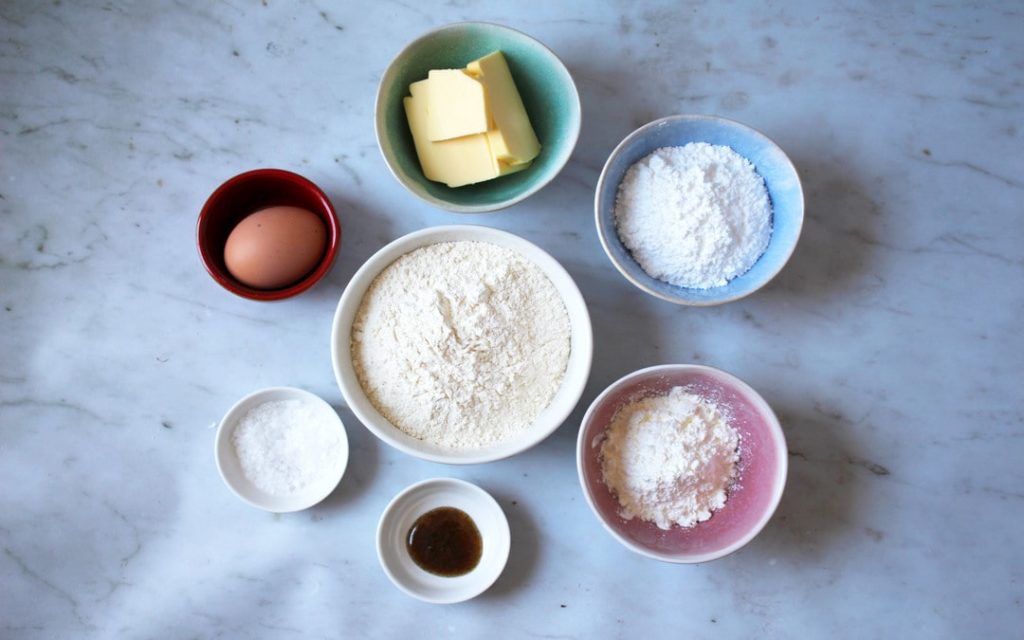
81g icing sugar
127g unsalted premium butter, softened (plus more to butter your tart ring)
50g large egg
1 vanilla bean, split lengthwise, not essential, if you don’t haveone just skip it or you can use essence but use just a few drops*
Vanilla seeds scraped
186g all-purpose flour (plus more as needed for dusting)
47g cornstarch
1g kosher salt
*We couldn’t find vanilla beans in our local shop but we did find a small tub of vanilla paste, one teaspoon is equivalent to one vanilla pod and worked perfectly for this recipe
Equipment
Stand mixer fitted with paddle attachment
Rubber spatula
Rolling pin
Sheet pan
Parchment paper
8-inch tart ring
Small paring knife
How to Make Your Pastry
In a stand mixer fitted with a paddle attachment, cream the icing sugar and butter for 30 seconds on low speed.
Add the egg, scrape down the sides of the bowl with a rubber spatula, and mix on medium speed until evenly combined.
If you were able to find vanilla pods, working on a cutting board, press the vanilla bean flat, then use the tip of the paring knife to halve it lengthwise, from tip to tip. Turn the knife blade over and use the back of the blade tip to scrape the seeds from the center of each half.
In a medium bowl, combine the flour, cornstarch, and salt.
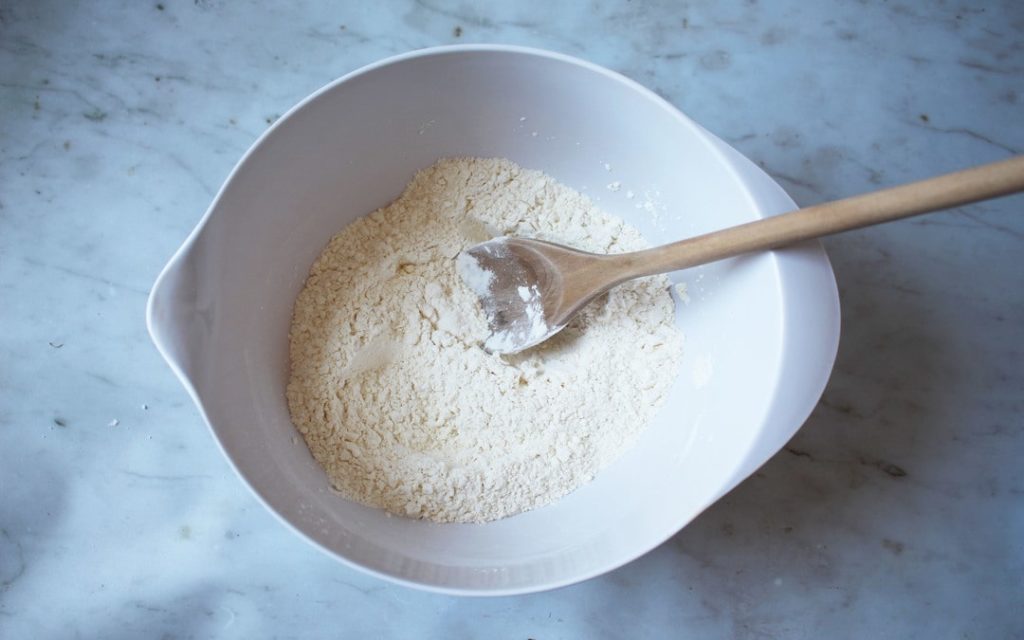
With the mixer on low speed, stir in the flour mixture and vanilla bean seeds (if you couldn’t find vanilla pods you can add you vanilla essence or vanilla paste here) until just combined and no more dry patches are visible, about 10 seconds more.
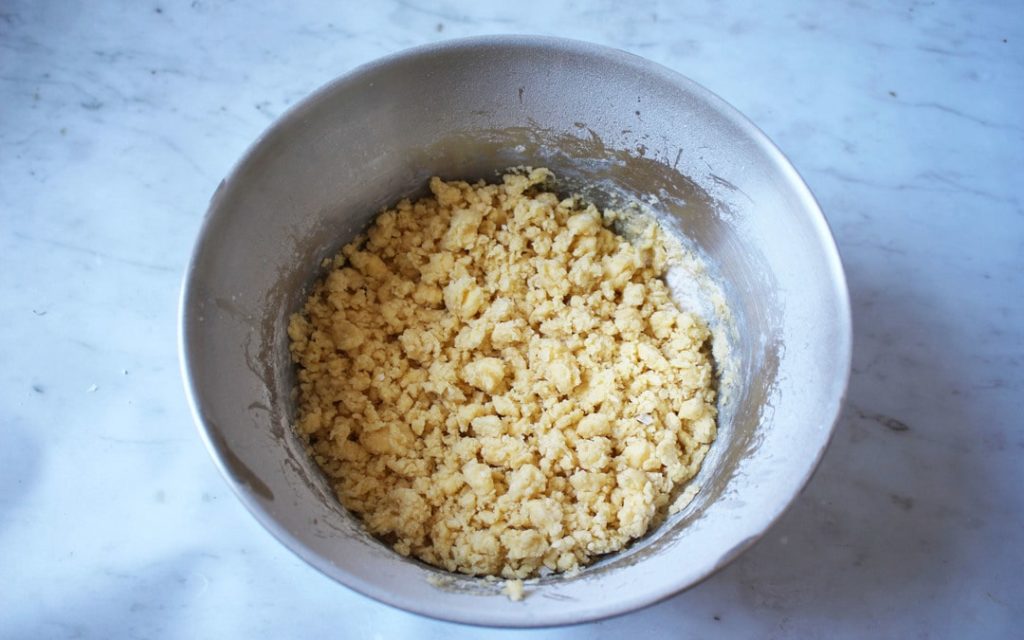
Finish mixing the dough by hand to ensure it is not over-mixed. The dough should be creamy, smooth and have the consistency of cookie dough.
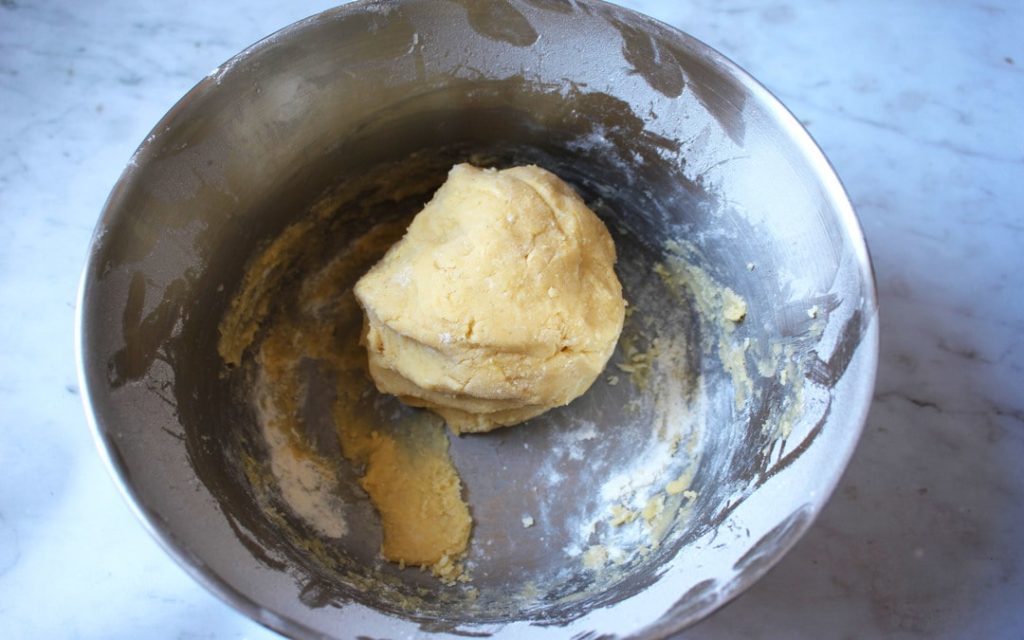
Transfer the dough to a sheet of parchment paper on your work surface and sandwich it with another sheet of parchment paper, flattening it into a 1-inch- thick disk and refrigerate until firm, 30 to 45 minutes.
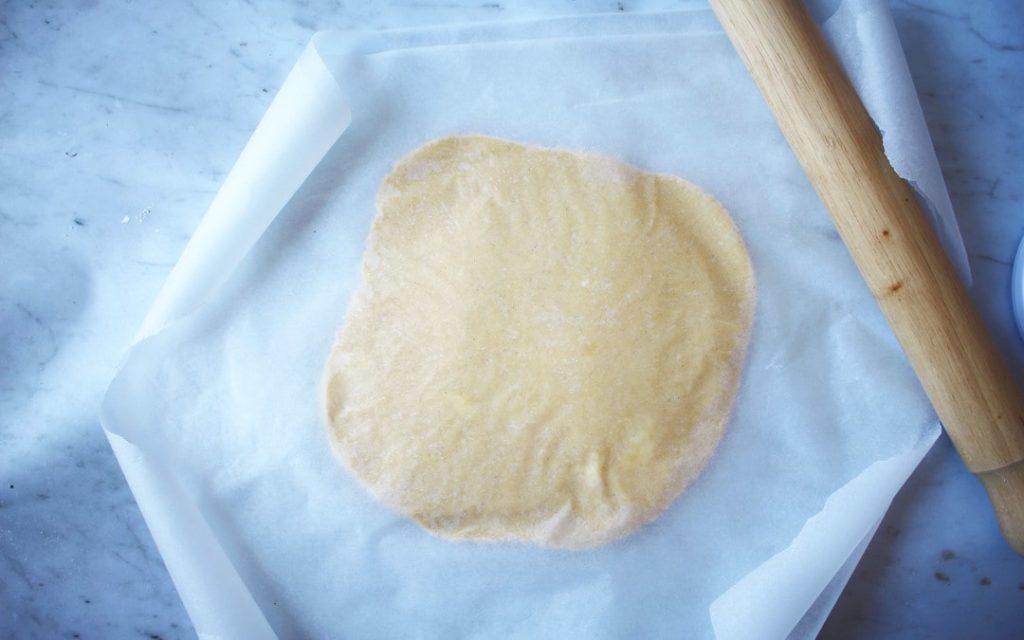
Liberally flour the work surface and a rolling pin. Unwrap the dough and transfer it to your floured work surface. Roll out the dough out into a rectangle about 1⁄8 inch (3mm) thick. (Make sure to work fast so the dough doesn’t get too warm.)
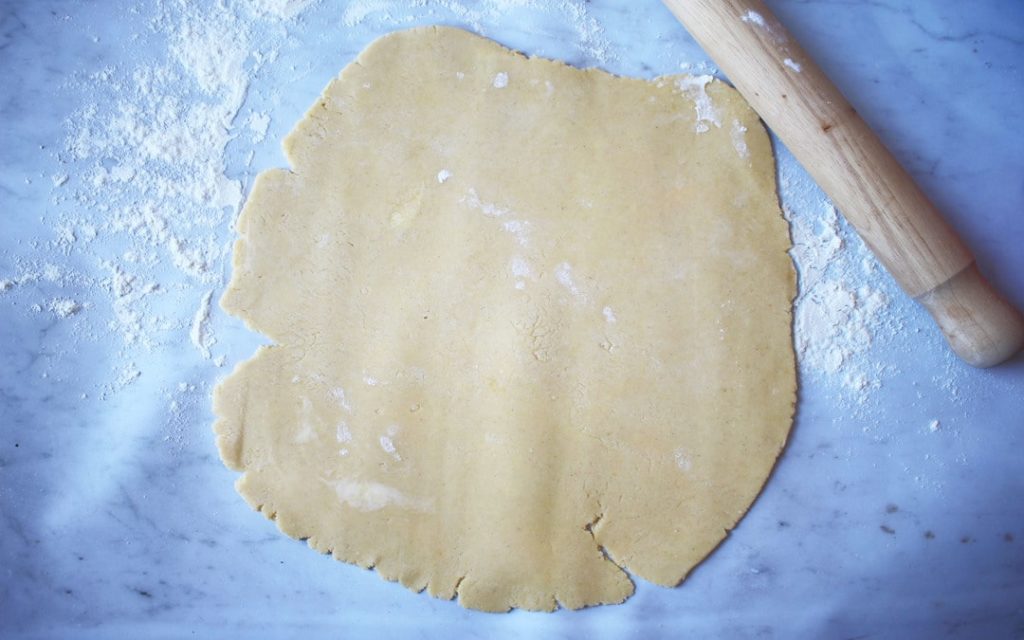
Place on a sheet pan and loosely cover with plastic wrap. Refrigerate for 30 minutes
Using the tart ring* as a guide, cut a circle from the centre of the dough sheet that is 1 inch (2.5 cm) wider than the outside of the ring so that the dough round will be big enough to come up the sides of the ring. form it into a tart shape in the tart ring.
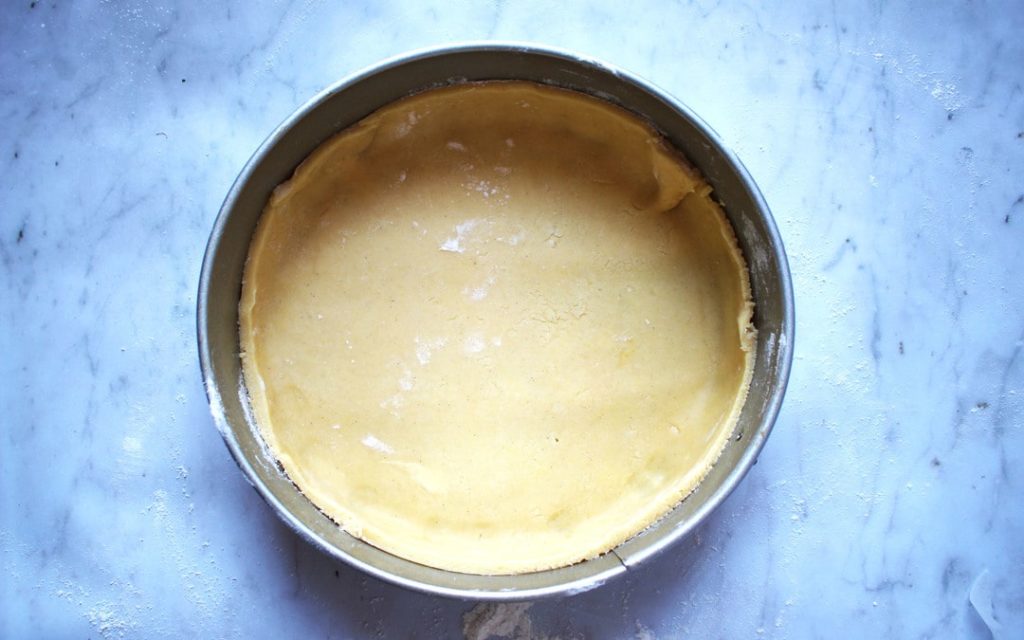
*We didn’t have a tart ring to hand so we improvised with a spring form cake tin, you have to work with what you have these days.
Use a paring knife to trim the excess dough hanging over the edge of the ring.
Press the edges with your fingers gently
Return to the refrigerator to chill for about 30 minutes.
Remember your dough needs to be cold all of the time that you’re working with it. If you feel that your dough is getting soft and warm it’s no harm to return it to the fridge for 15 min and continue after.
While the tart shell is chilling, place a rack in the centre of the oven and preheat the oven to 175°C.
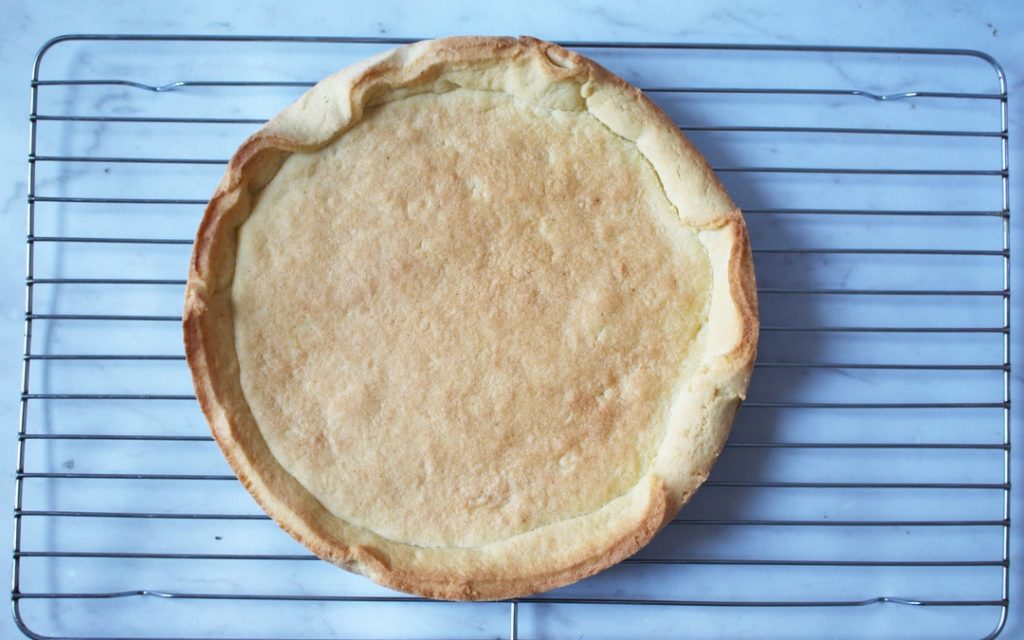
Bake the tart on the centre rack for 15 to 20 minutes, until it’s a light golden, sandy colour and you don’t see any wet spots.
Always make sure your tart shell is fully cooled before you start assembling any cream-based tarts. If the shell is still too hot or warm when you pipe in your pastry cream, you’ll end up with a soggy-bottomed tart.
Fruit Tart Filling
Pastry Cream (best if you do a day before)
Ingredients
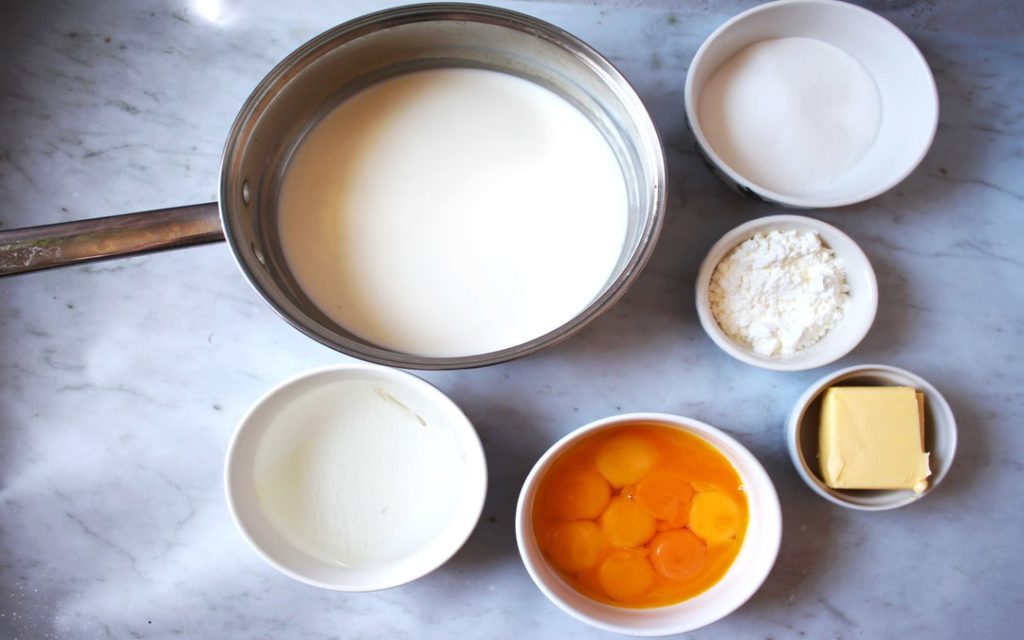
533ml whole milk
128g caster sugar
184g egg yolks (this was approx 8 egg yolks for us but will depend on the size of the eggs you’re using, weigh the yolks as you go until you get to 184g)
48g cornstarch
108g unsalted butter,softened and cubed
4g gelatine (4 leaves of gelatine for us but check the weight as different products may have different sizes and weights)
How to Make Your Pastry Cream
Place gelatine leaves into cold water to soften them ( 5 -10 min )
In a large pot over medium heat, bring the milk and half of the sugar to a boil, slowly stirring to prevent the mixture from burning on the bottom of the pot.
In a bowl, whisk together the other half of the sugar with the egg yolks. (Do this immediately to prevent the yolks from “burning” on contact with the sugar.) Add in the butter cubes one by one and mix them in. Stir in the cornstarch until smooth then slowly whisk in 1⁄2 cup of the warm milk and sugar mixture, stirring until evenly combined.
Tip: This process is called tempering, a cooking technique in which you gradually raise the temperature of a cold or room-temperature ingredient (in this case, eggs) by adding small amounts of a hot liquid, to prevent the cold ingredient from cooking too quickly or too much. If you add all of the hot liquid into the eggs at once, you’re going to end up with lumpy scrambled eggs in your pastry cream.
While stirring, pour the egg mixture back into the pot of milk. On low to medium heat, while stirring constantly, heat the mixture up until it noticeably thickens. It takes about 3 minutes or so to thicken and a further 2 minutes more, once thickened, to cook out the raw taste from the cornstarch. It will continue to thicken as it cools, so remove it from the heat before you evaporate off too much water. Add softened gelatine at the end and stir until dissolved.
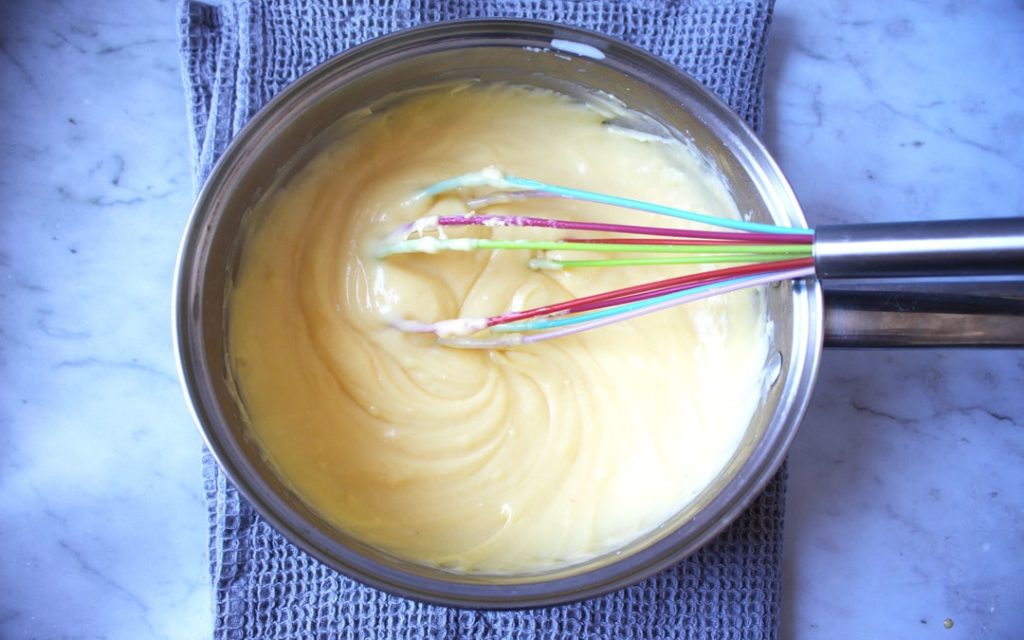
Tip: Look for the foam on the top of the custard to start disappearing. This is a sign that the custard is almost finished cooking.
Cool down the cream in the fridge until totally set. Whisk the cream with a hand whisk until smooth and you are ready to start to assemble the tart.
Fill a piping bag halfway and pipe the cream, starting from the center and moving out to the edges (You can be generous and cut quite a big hole on a tip of piping bag or use a large nozzle. If you don’t have a piping bag you can improvise with a zip lock bag)
Fruit
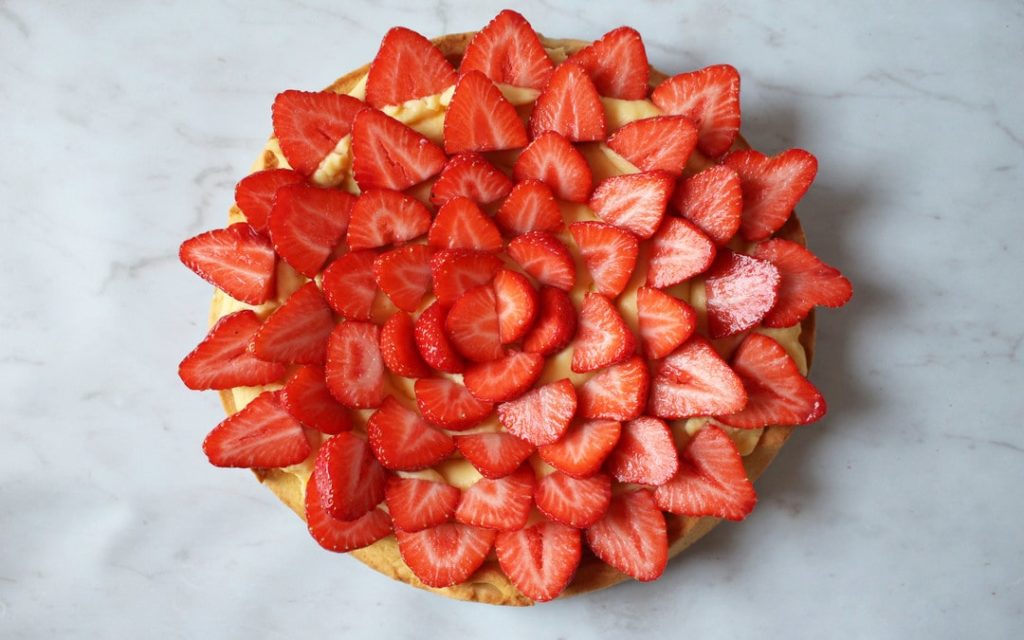
You can use any fruit for this tart. You can even try different canned fruits in winter time when it’s hard to get any fresh fruit. We suggest using strawberries for this tart as they’re slowly coming into season.
Take 500g + of large strawberries and split them in half.
Starting with the larger halves, arrange them cut side up and tips pointing outward along the entire edge of the tart so their points extend about 1⁄4 inch beyond the edge of the shell. Continue arranging halves in this fashion until they form a ring, then continue making concentric circles with the halves, working toward the smaller pieces until they meet in the center and completely cover the pastry cream.
From the top, the tart should look like a blooming flower.
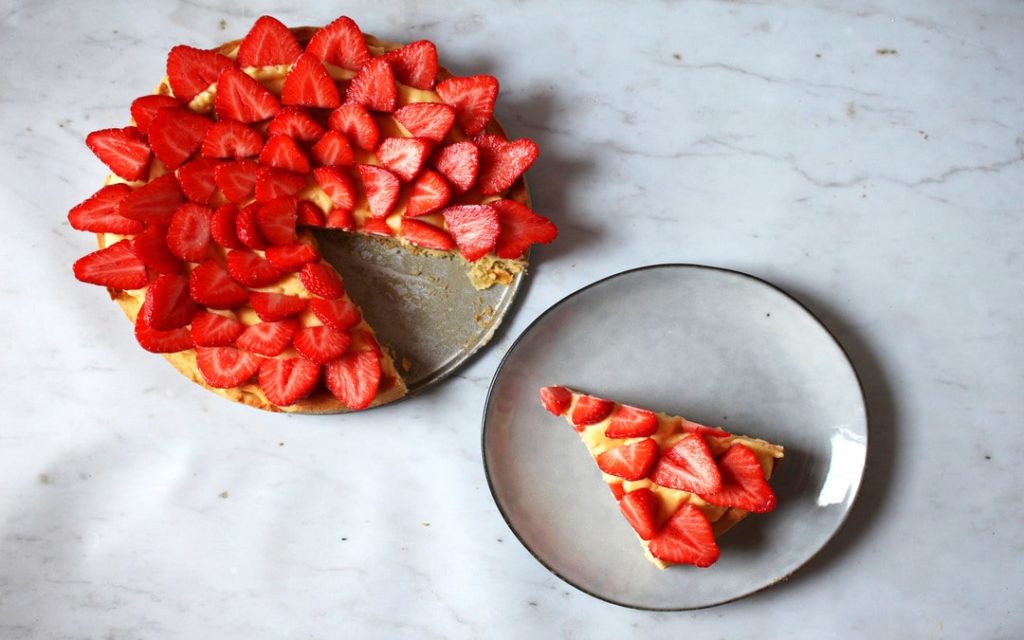
And there you have it, a beautiful summer fruit tart to enjoy and to impress your friends and family with. This will last for a couple of days in the fridge if you can resist eating it all in one day. We’d love to know if you try it; if you give it a go we’d love to see a picture so tag us on socials with your homemade fruit tarts.
AS ALWAYS, KEEP TAKING CARE OF EACH OTHER AND DON’T FORGET TO FOLLOW US ON TWITTER, INSTAGRAM AND FACEBOOK FOR UPDATES.
